Helpdesk - Get In Touch
Get In Touch
To access the Get In Touch subsection, follow these steps:
- Log in to your account.
- Navigate to the sidebar on the left-hand side of the dashboard.
- Look for the "Helpdesk" tab.
- Click on the "Get In Touch" subsection.
If you have a specific question or need further assistance beyond what is available in the FAQs or User Guides sections, our team is ready to help. The "Get in Touch" section provides you with multiple channels to reach out to us. You can submit a support ticket directly from the website, send us an email. Our dedicated team is committed to providing prompt and helpful responses to your inquiries.
How to Create a New Ticket
- Click on "New Ticket": Within the "Get in Touch" section, locate and click on the "New Ticket" button. This button is your gateway to creating a new support ticket.
- Fill in Ticket Details: To ensure we can address your issue effectively, you'll need to provide some key information in the ticket creation form.
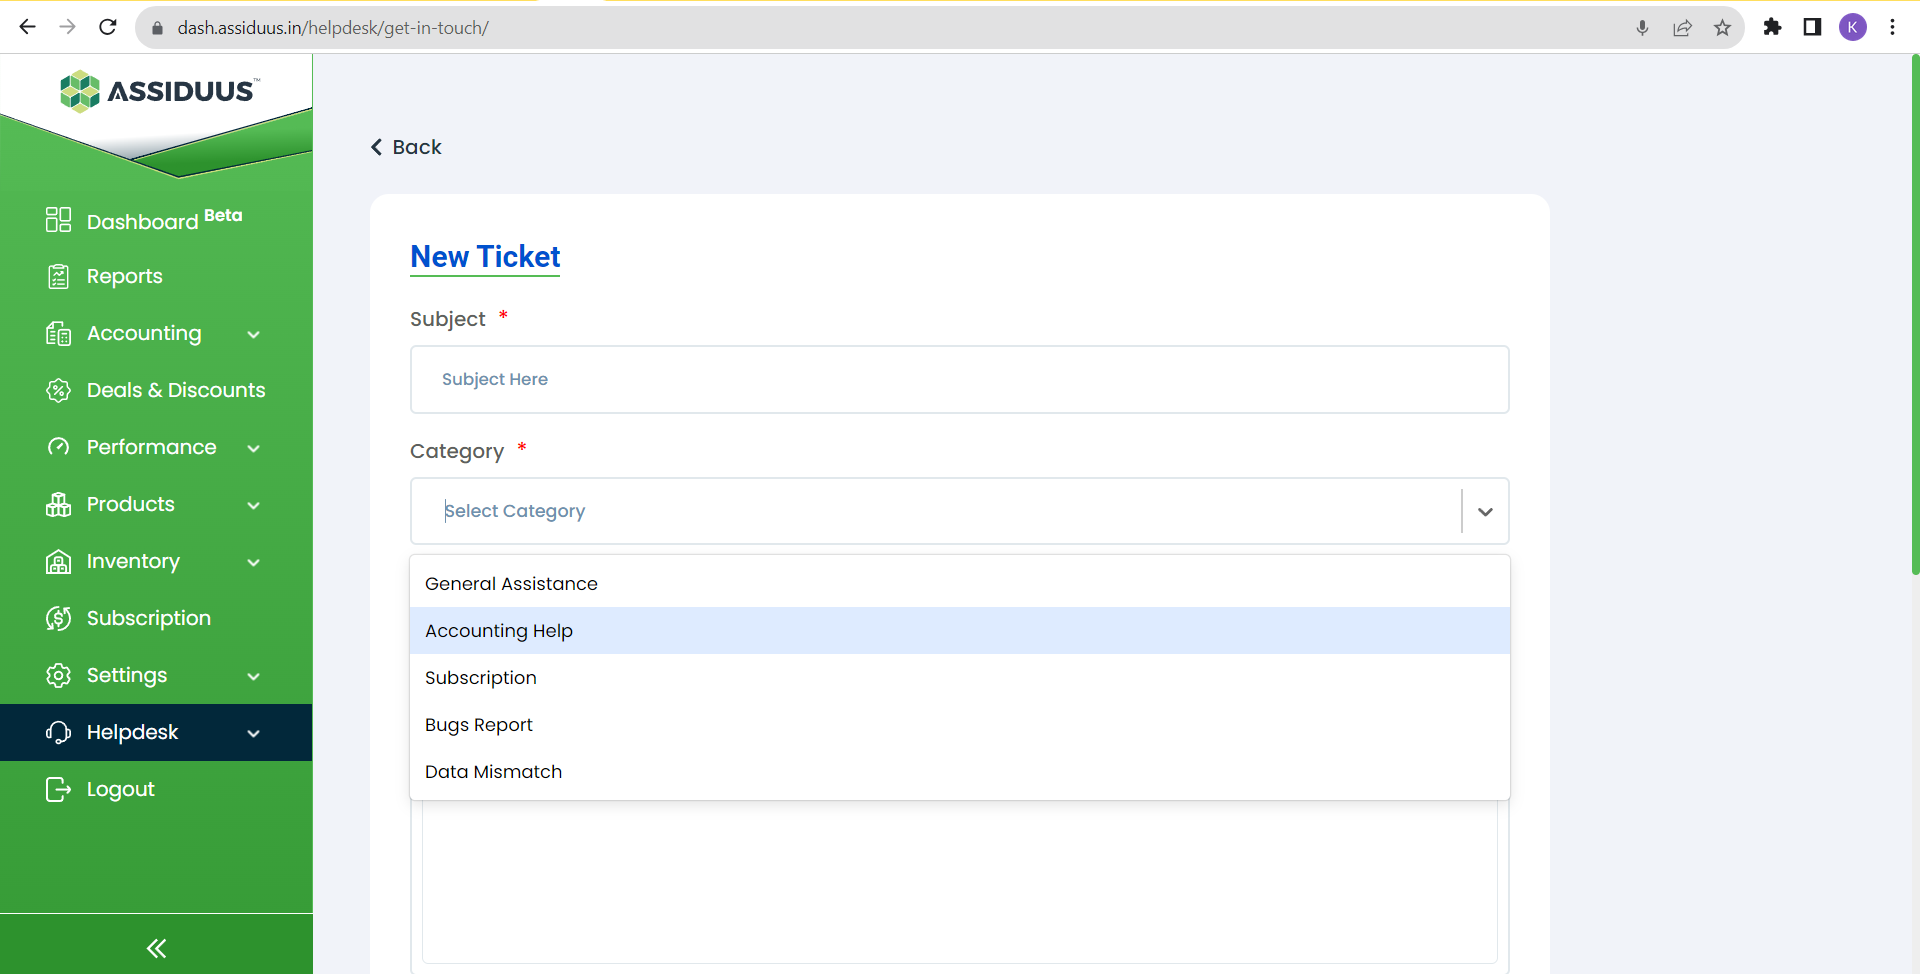
Subject: In the "Subject" field, write a concise and descriptive title for your issue. A clear subject will help our tech support team understand the nature of your problem quickly
Category: Choose the category that best fits your issue from the dropdown menu. The available categories are:
- General Assistance: Use this category when you need help or information that doesn't fall under the other specified categories. It's suitable for general inquiries, guidance, or assistance with using the website.
- Accounting Help: Select this category if your issue is related to financial matters, such as billing, payments, invoices, or any accounting-related questions. Our support team can assist you with financial aspects of your account or transactions.
- Subscription: If you have questions or need assistance regarding your subscription to our services or products, choose this category. It covers inquiries about subscription plans, renewals, upgrades, or cancellations.
- Bugs Report: Use this category when you encounter technical problems or issues with the functionality. This includes reporting any errors, glitches, or unexpected behaviour that affects your user experience.
- Data Mismatch: Select this category if you've identified discrepancies or inconsistencies in the data presented on the website. This could involve inaccurate product information, pricing, or other data-related concerns.
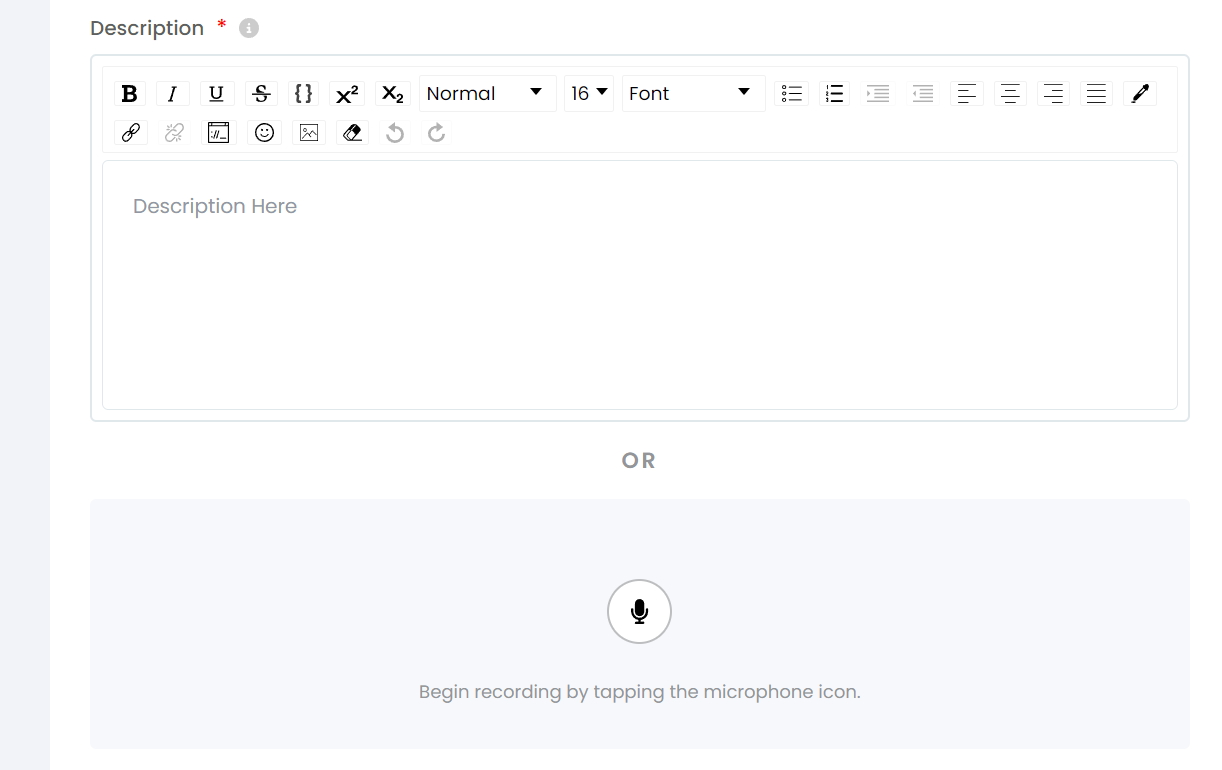
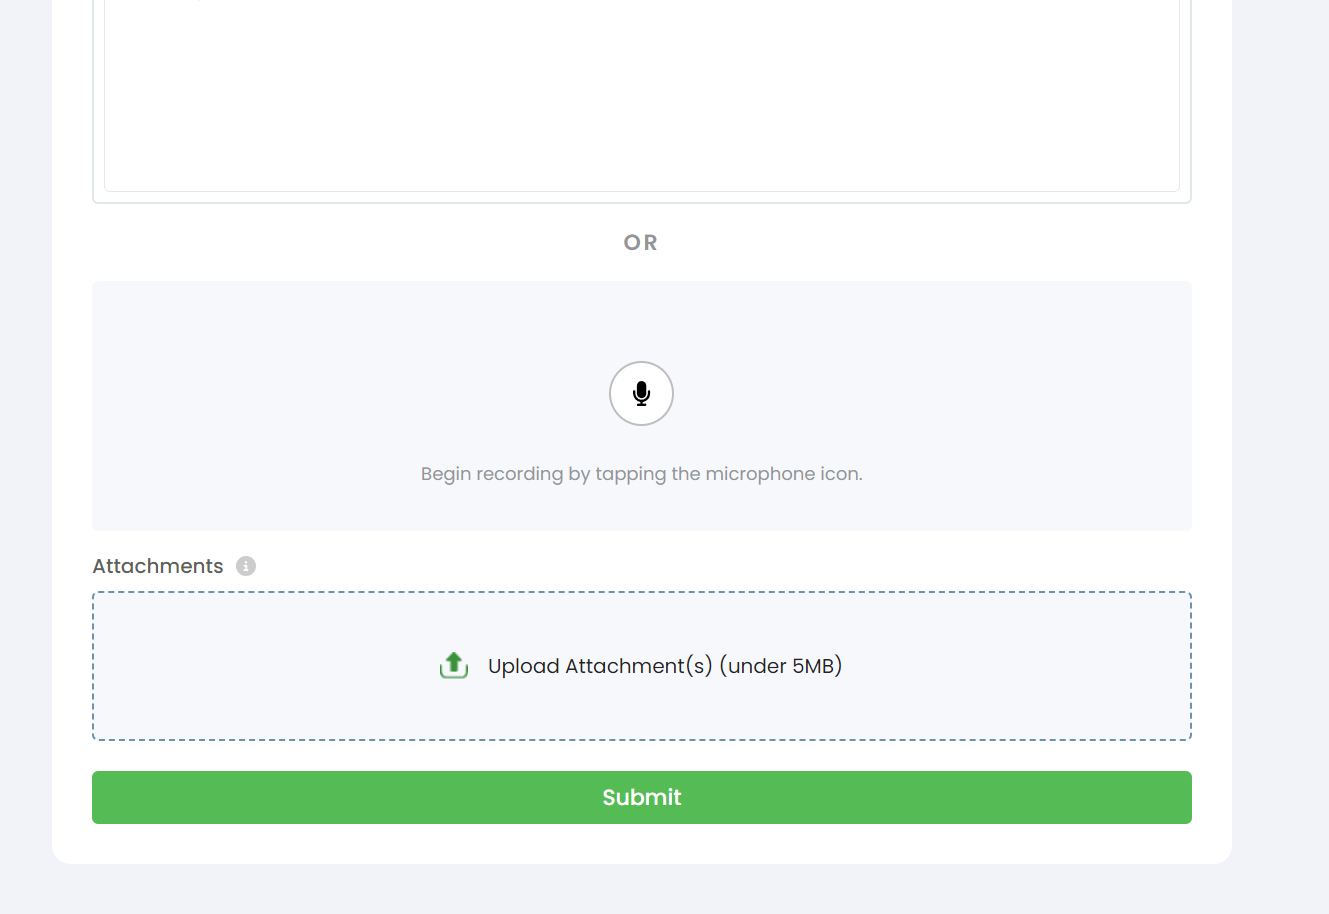
Description or Recording: Here, you can provide details about your issue in one of two ways:
-
Description: In the "Description" field, type a detailed explanation of your issue. Be as specific as possible to help our team understand your problem thoroughly.
-
Voice Recording: If you prefer, you can record a voice message to describe your issue. To do this, tap the microphone icon. Ensure that you grant access to your microphone if prompted. At least one of these options (description or recording) must be filled out.
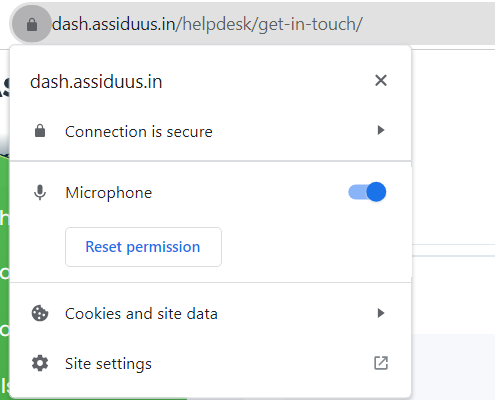
Note: If you accidentally deny microphone access, don't worry. You can rectify this by clicking the lock icon near the URL in your browser's address bar. Allow access to the microphone from there.
Attachments (Optional): If you have any relevant screenshots or documents that could assist our tech support team in understanding your issue better, you can attach them. Please ensure that each attachment is under 5MB in size.
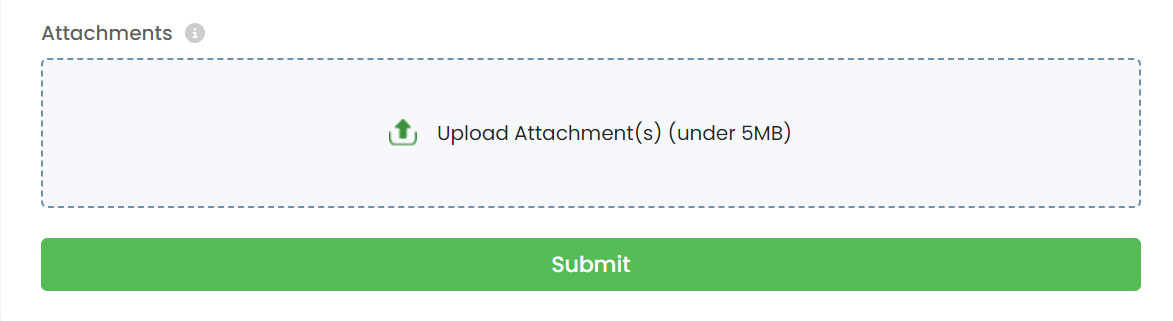
Submit Your Ticket: After filling in the required details and providing any optional attachments, click the "Submit" button to create your support ticket.
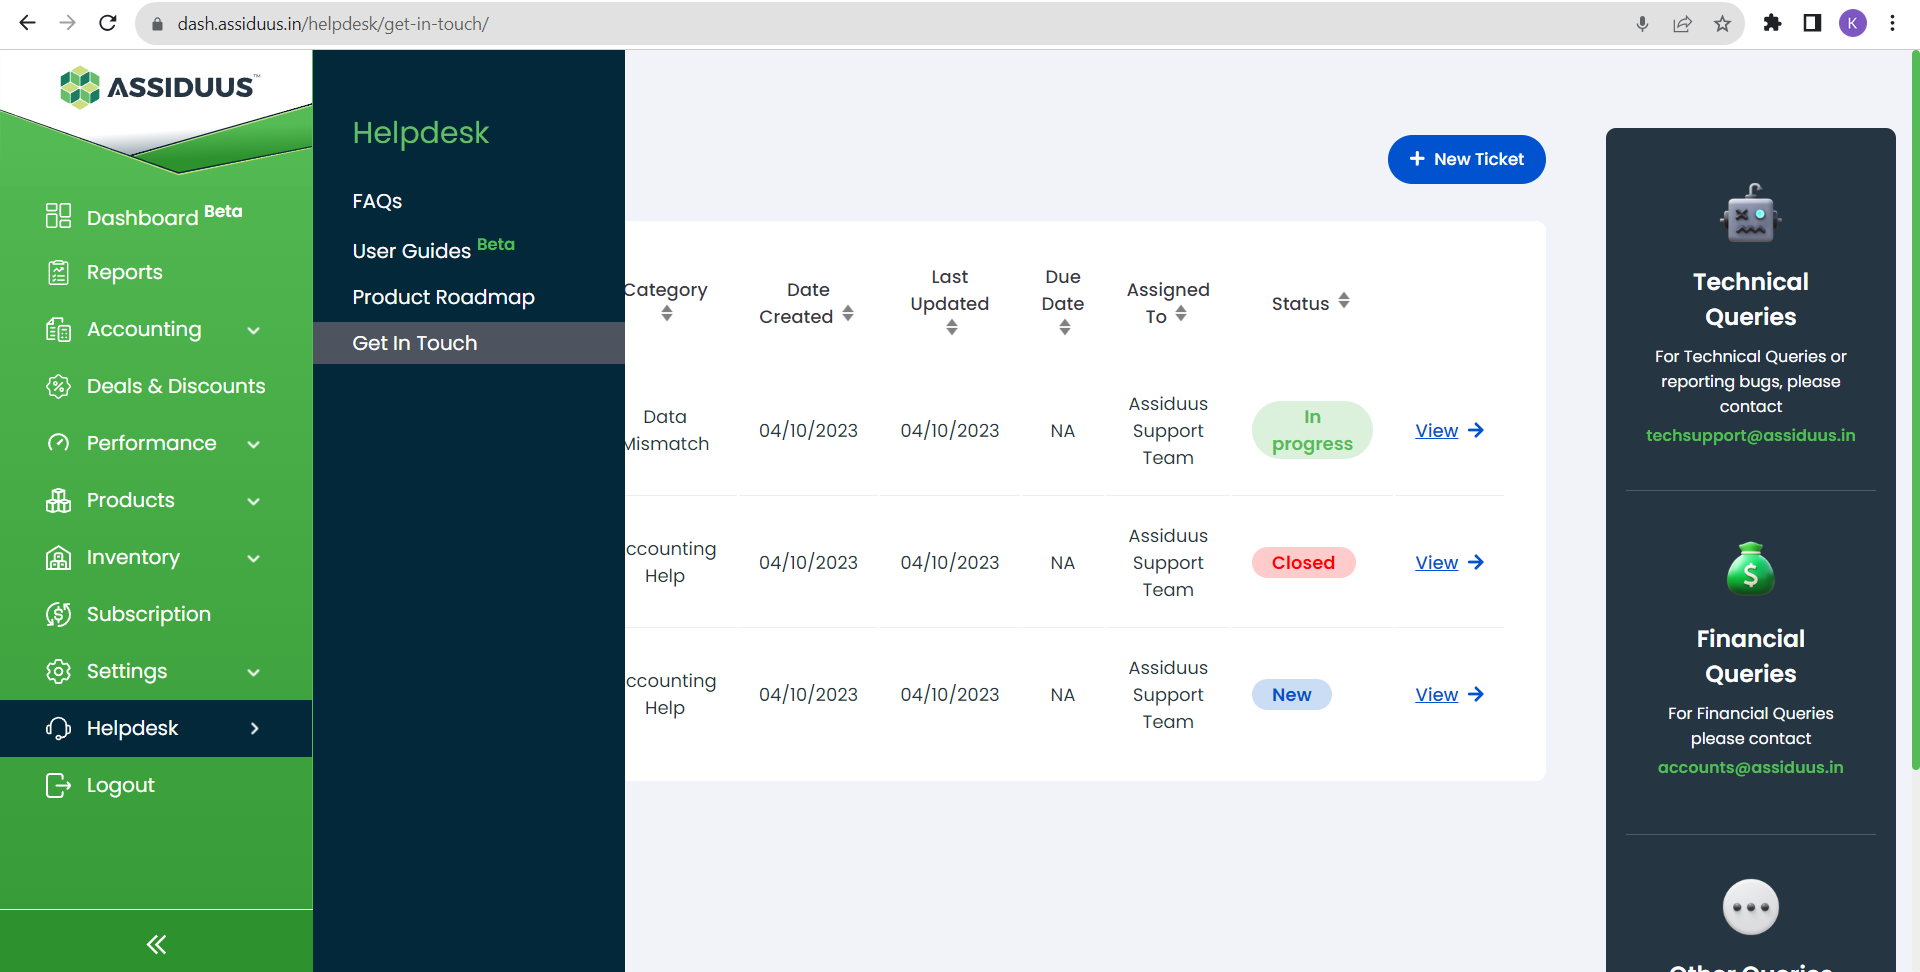
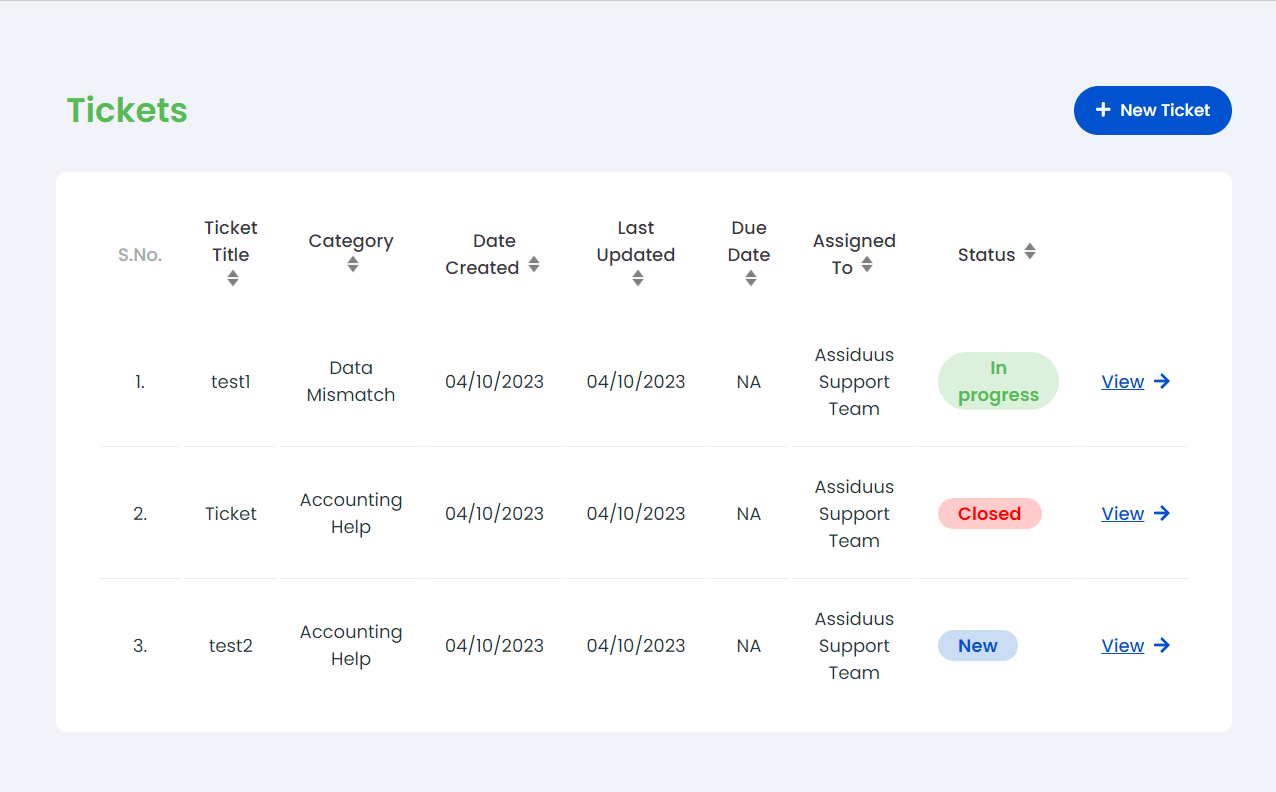
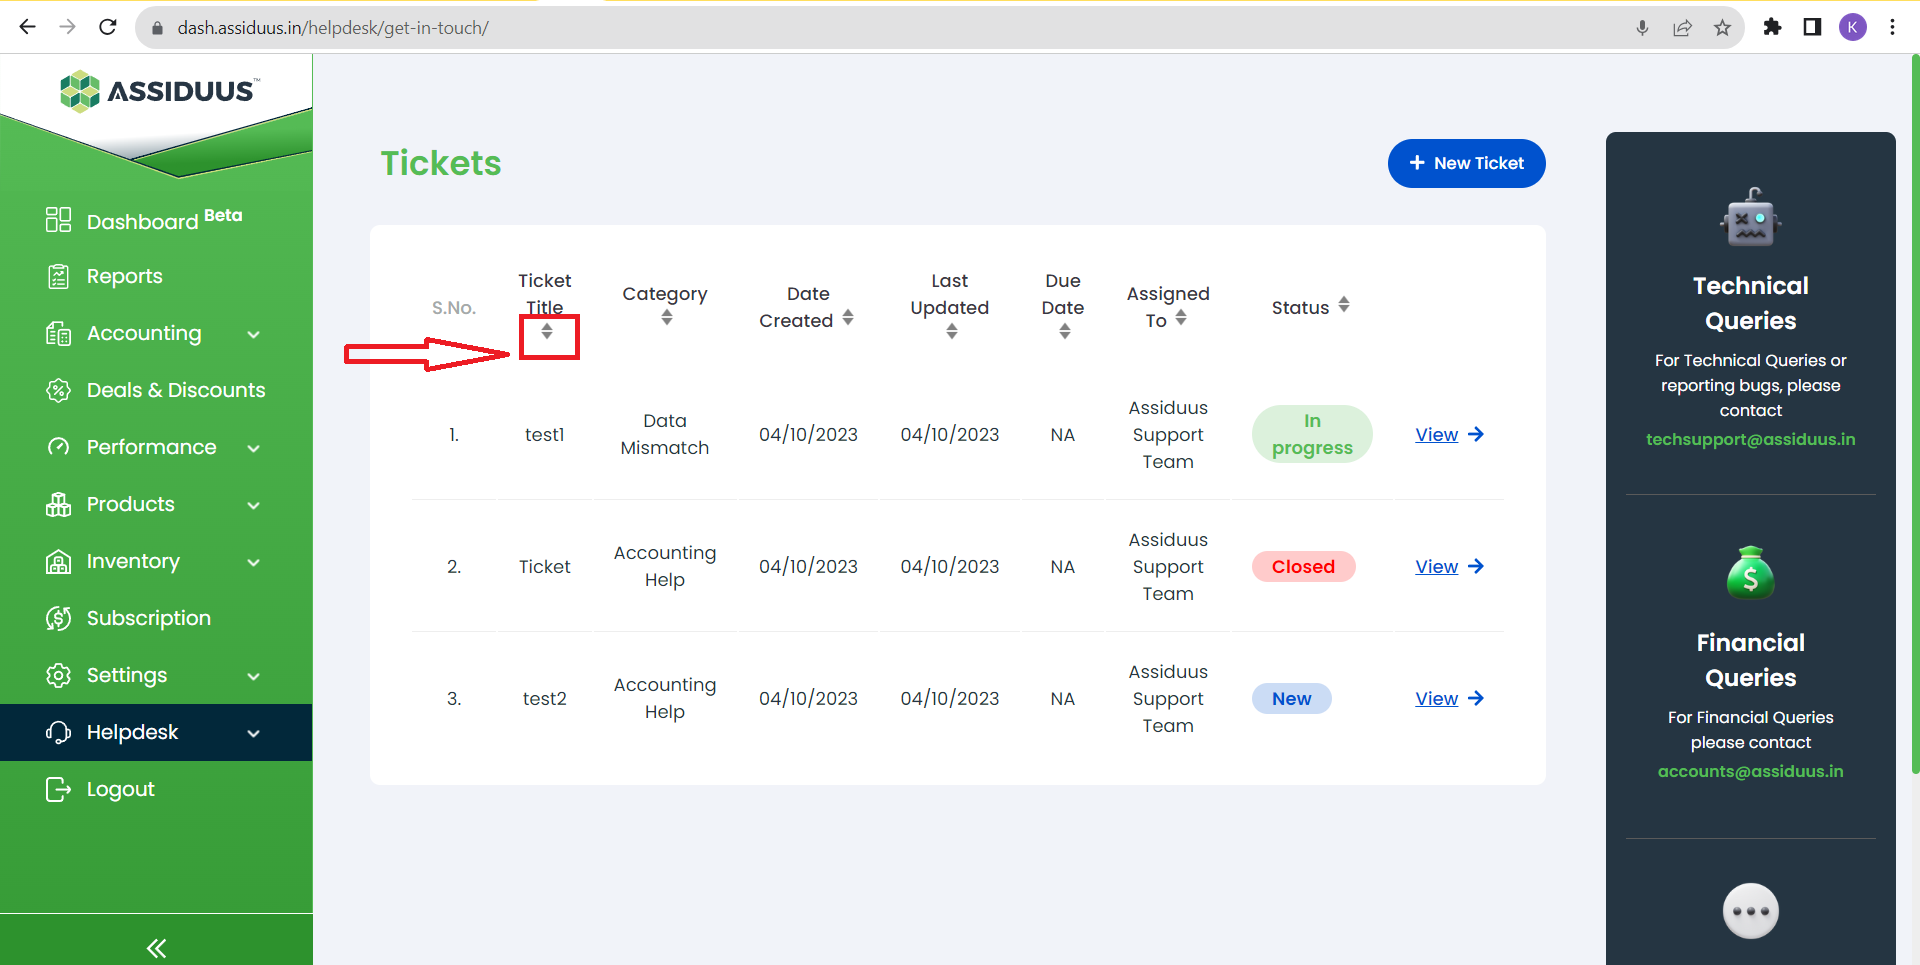
Sorting Tickets: You can sort your tickets by various criteria, such as by Ticket Title, category, date created, Last Updated ,Due Date, Assigned To or status by clicking on to the sort icon. This allows you to prioritize and manage your tickets more efficiently.
How to Manage Tickets
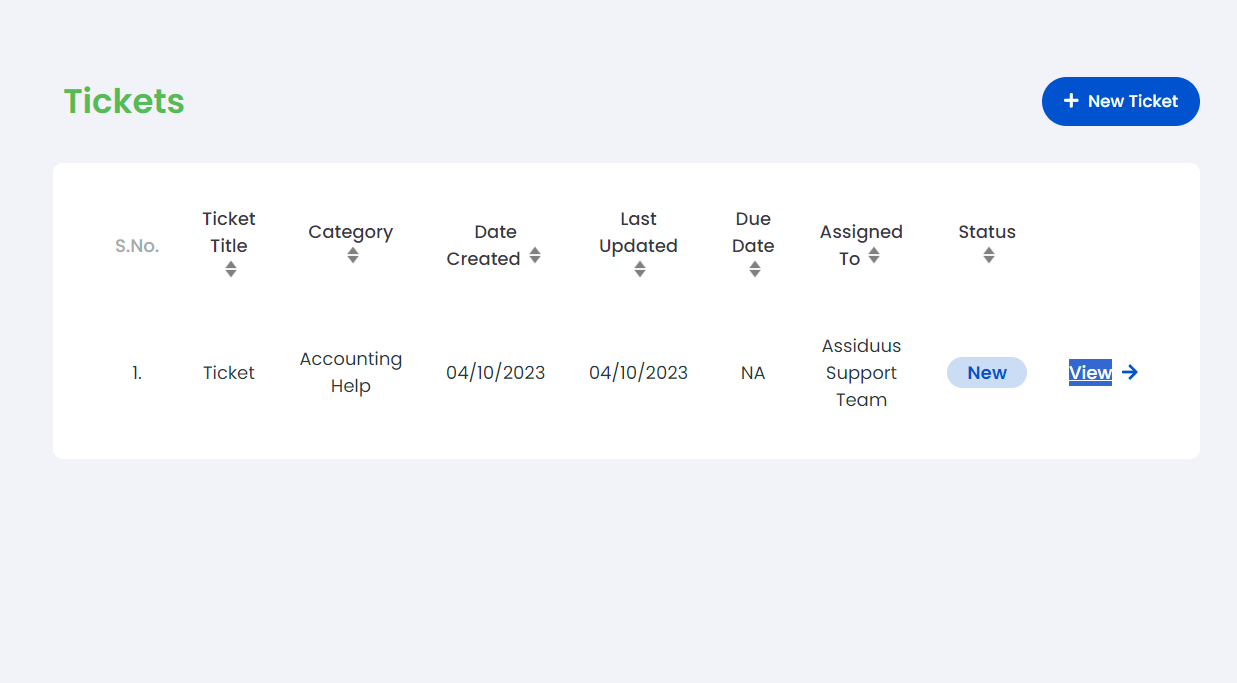
- View Tickets: Inside the "Get in Touch" section, you'll find a list of your existing support tickets. To see your open tickets, click on the "View" option.
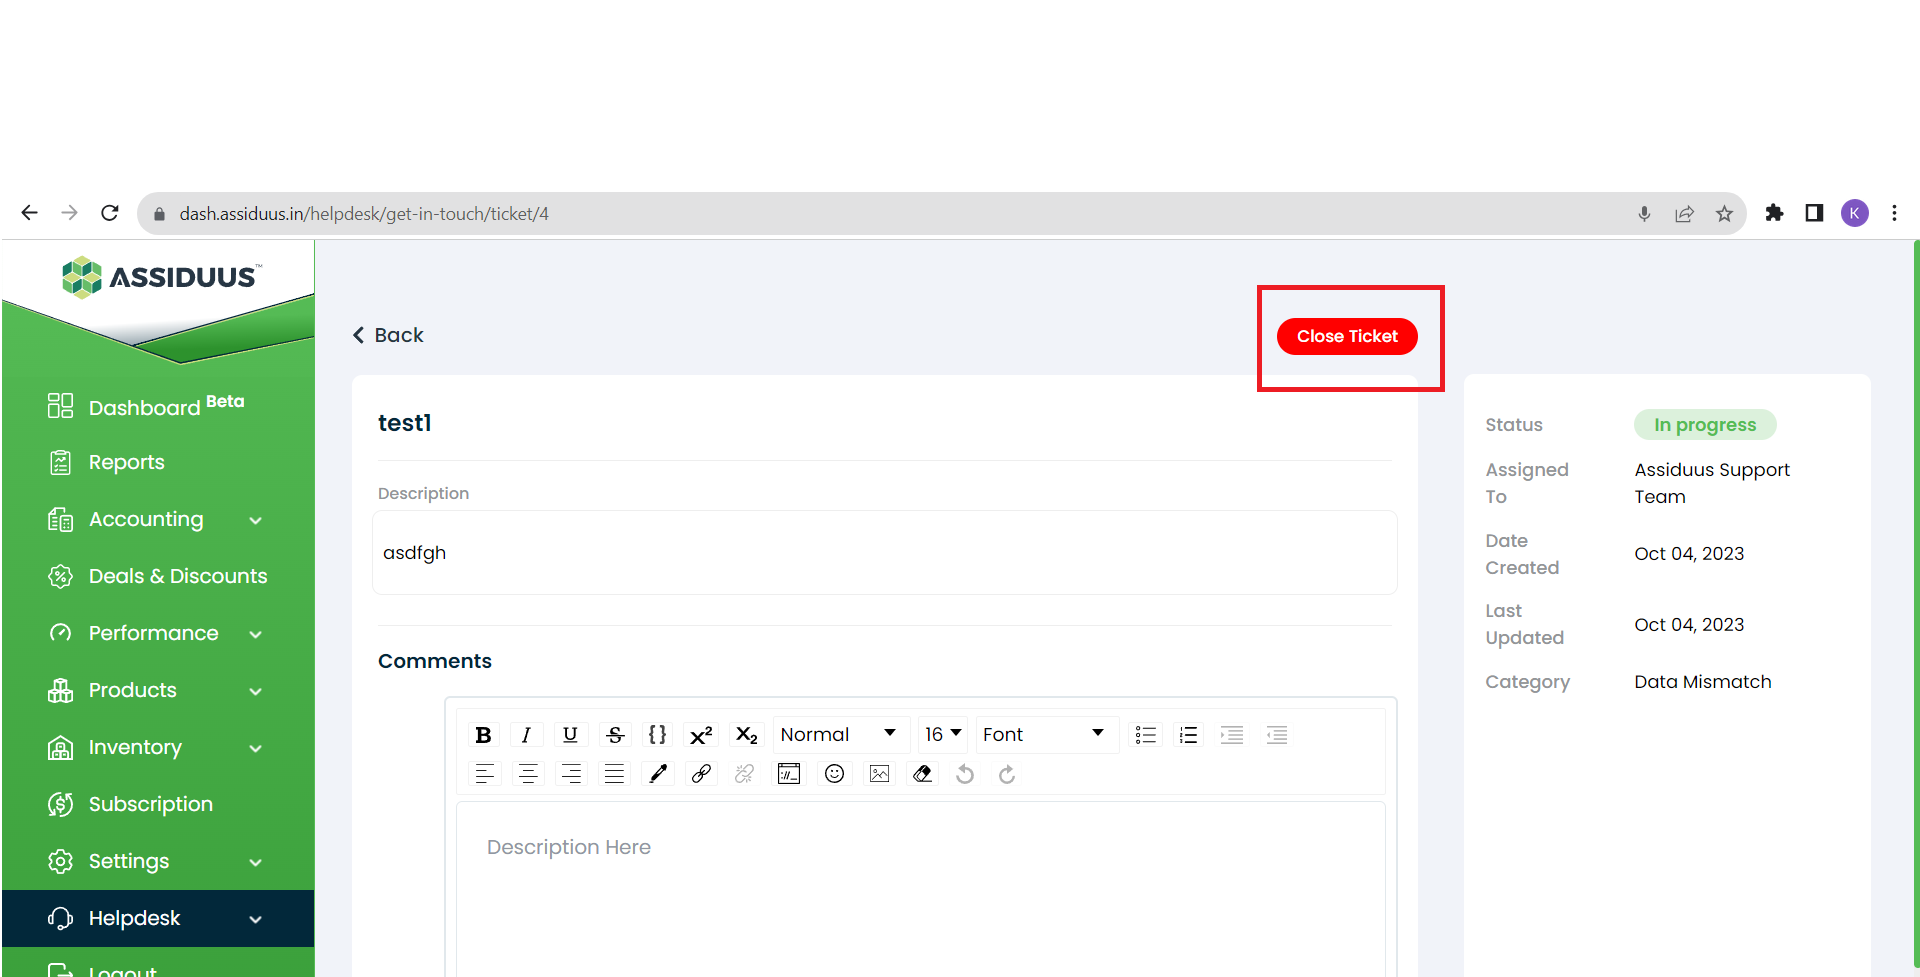
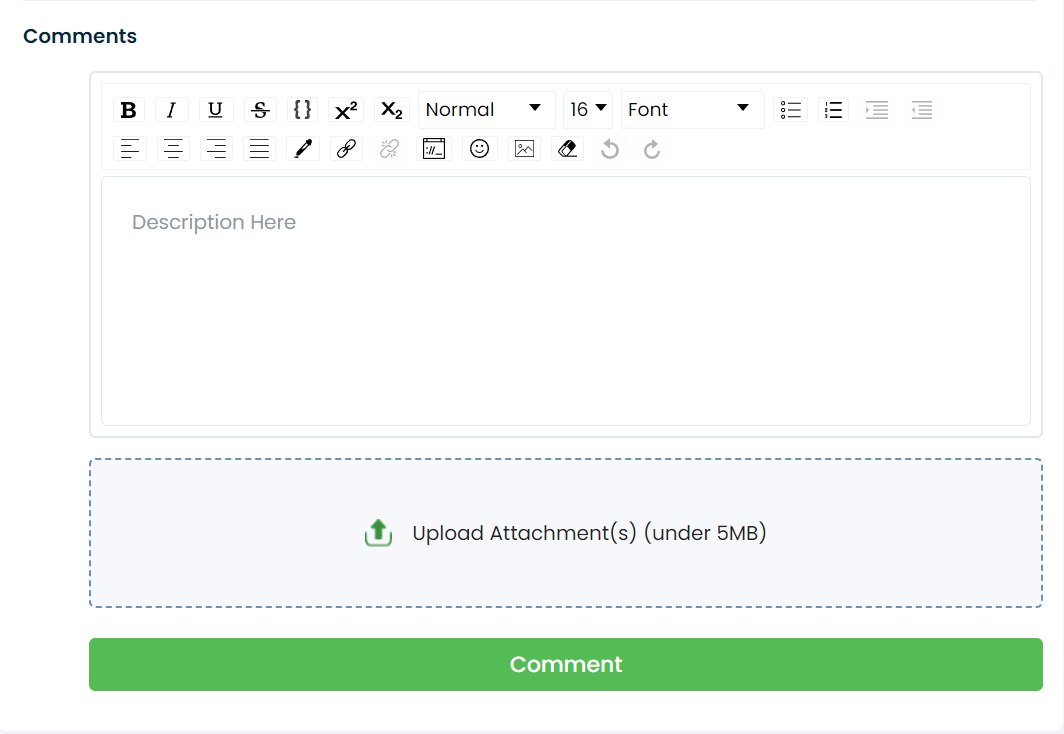
- Add Comments: After clicking "View", you will be taken to the ticket details page. Here, you can view the current status and information related to your issue. To add a comment to the ticket, locate the "Comments" section. You can add your comments in the "Description" box, type your comment to provide additional information or updates regarding your issue. If you have any new screenshots or documents that are relevant to the ongoing discussion, you can attach them to your comment.
- Submit Your Comment: Once you've written your comment or attached any necessary files, click the "Comment" button to submit it. Your comment will be added.
- Closing the Ticket: When your issue is successfully resolved and you no longer require assistance, you can close the ticket.
To close a ticket, locate the "Close Ticket" option, typically found in the upper right corner of the ticket details page.
Click on "Close Ticket" to indicate that your issue has been resolved to your satisfaction.